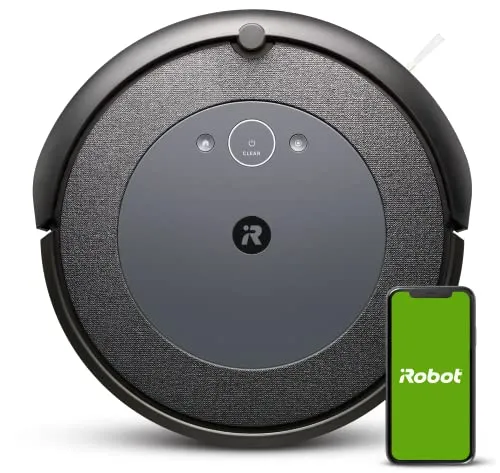
Most Roomba i4 EVO troubleshooting begins with a red light ring and a spoken error. The good news is that the faults on this robot have short lists of causes. Better still, iRobot publishes a fix for nearly every code the robot can show.
This guide starts with the cheapest fixes and works toward the most involved. First come the reboot and the cleaning jobs that clear many errors on their own. Next come the faults that keep returning on the i4. They include getting stuck, docking and charging trouble, false full-bin alerts, Wi-Fi drops and a map that will not hold. Finally, it covers the care schedule and what to have ready for a warranty claim. The procedures follow iRobot's own support pages.
Key Takeaways
- A reboot, holding CLEAN for 20 seconds off the dock, clears many errors and keeps your map and schedules.
- The official fix for charging errors 4, 5, 19 and 21 includes cleaning the charging contacts.
- A false full-bin alert calls for cleaning the six sensor points and the vacuum path, then a reboot.
- This model joins 2.4 GHz Wi-Fi only and keeps a single Smart Map, with no Keep Out Zones.
- Errors that return after cleaning and a reboot are a warranty matter, and the one-year cover includes the battery.
Roomba i4 EVO troubleshooting starts with a reboot
A reboot clears many errors that routine care does not, and iRobot describes it as always safe. It keeps your Smart Map, your schedules and your other preferences. In the iRobot Home app, open Product Settings and choose Reboot Roomba. Without the app, lift the robot off the Home Base, then press and hold CLEAN for about 20 seconds. A white light and a short tune follow, and the restart can take up to a minute and a half.
Before you reboot, note the error. Pressing CLEAN repeats the spoken message, and so does tapping the bumper while the robot is on. The number matters later, because it separates a fault you can fix from one that needs iRobot.
Then work through four cleaning jobs, since each one clears a different family of errors. First, empty the bin and wipe its full-bin sensors. Next, pull hair from the brushes, the wheels and the front caster. After that, wipe the charging contacts on the robot and the dock. Finally, wipe the cliff sensors underneath with a clean, dry microfiber cloth. If the error survives all of that and a reboot, the sections below narrow it down.
What the red light ring is telling you
When something goes wrong, the ring around CLEAN turns solid red and the robot speaks. The message usually names the fix, such as clearing the brushes or moving the robot to a flat surface. The number beside it narrows the cause. Every code appears in iRobot's i Series error chart, and most fall into a handful of groups.
Errors 1, 3 and 13 mean a wheel is hanging down or the robot is stuck on uneven ground. With errors 4 and 5, a wheel is jammed, so check it for hair. Error 9 means the bumper is jammed or dislodged, and error 16 that it bumped something as it started. For errors 6 and 12, a drop-off was detected, and the first thing to check is whether the cliff sensors are clear.
Error 2 says the rubber brushes cannot spin. A missing bin, or a bin without its filter, shows as error 14. Errors 26 and 27 point to a clogged filter, while error 36 means the full-bin sensors still read full. Suction and vacuum motor faults show as errors 8, 11 and 30.
Docking and navigation have their own codes. Error 17 means the robot got lost, and 18 that it finished but could not dock. If it bumped something while leaving the dock, it reports error 19. A 1010 means it cannot find a path back to the dock at all. Errors 21, 25, 34, 38 and 39 are internal faults. For each one, the first instruction is a reboot. Error 23 is different, because it means the robot does not recognize the battery as a genuine iRobot part.
Stuck, lost or wandering between rooms
Getting stuck is the fault the i4 runs into most, and usually in the same places. Chair and bar stool legs trap it, and the front edge of a sofa catches it. Light rugs bunch up or flip under it, too. Before a scheduled run, lift chairs onto the table and clear cords and small objects off the floor.
The app has no Keep Out Zones or Clean Zones for this model. Keeping it away from a trap therefore takes the Dual Mode Virtual Wall barrier that comes in the box. Use Virtual Wall mode to block a doorway, or Halo mode to guard something like a pet bowl. Keep any barrier at least 8 feet from the Home Base, because its beam can interfere with docking.
Lost jobs have codes of their own. A blocked path in the Smart Map shows as error 33, and getting stuck around obstacles as error 75. Error 42 means it failed to relocate itself during a room-by-room job. Room-by-room jobs also have to start from the dock. A robot picked up mid-job must therefore go back to the Home Base before it carries on.
One habit looks like a fault and is normal. During a job, the robot often leaves a room and comes back to it later. According to iRobot, that is the robot keeping track of the space.
When it will not dock or charge
Start with where the Home Base sits. The base wants a hard, level floor, flat against a wall, with at least 1.5 feet clear on each side. Leave 4 feet clear in front, with no tables or chairs, and keep the base 4 feet from stairs. Also keep it plugged in. Its power light blinks green and then goes out, which is normal energy saving.
If the robot still misses the dock, work through iRobot's steps in order. Unplug the cord and push it back in firmly. Next, remove any stickers, tape or paint from the bumper and the dock. Wipe the charging contacts on both with a lightly dampened melamine foam pad. Then press and hold CLEAN for 3 seconds to clear the last job. Finally, set the robot within 6 feet of the dock, facing it, and press HOME.
In Roomba i4 EVO troubleshooting, several charging errors come back to those contacts. For charging errors 4, 5, 19 and 21, the official fix includes cleaning them. The care chart lists the contacts once a month, while the Home Base page asks for a weekly wipe. A robot that sits on the dock without charging makes the case for weekly.
Other charging errors point at the battery. Errors 6 and 7 mean it is too warm or too cold, so let the robot reach room temperature. For errors 1 and 8, remove and reinstall the battery. With errors 9, 11 and 20, the battery may need replacing. For error 20, though, the first step is to leave it out for 15 minutes. Errors 17 and 23 mean the battery may not be genuine. According to iRobot, aftermarket batteries can cause charging errors and void the warranty.
False full-bin alerts and suction errors
A full-bin alert on a nearly empty bin is one of the i4's most persistent annoyances. The robot judges the bin with sensors, and dirt on any of six points can set it off: two sensors on the robot, two inner sensor ports and two outer ones. Take the filter out, rinse the bin and its door with water, and let them air dry. Then wipe the full-bin sensors on the robot with a dry microfiber cloth.
Next, remove the brushes and make sure the vacuum path is clear. Hair and dust packed into that narrow passage can trigger the alert too, and a melamine foam pad lifts built-up grime there. If the error persists, reboot the robot.
When alerts keep interrupting runs, change the Bin Full Behavior setting. It sits under Product Settings, then Cleaning Preferences. The default, Do not clean when full, pauses the job. Keep cleaning when full lets the robot finish the run, and iRobot suggests it for a persistent error 36.
For suction errors, the filter is the first place to look. Error 26 means insufficient airflow, so clean or replace the filter and run the robot again. If it persists after a new filter and a reboot, the cleaning head module needs replacing. Error 27, an overheating vacuum motor, also points to a clogged filter first. Tap the filter clean against the trash, and keep it dry, because iRobot's filters are not washable. If errors 8, 11 or 30 remain after a clean filter and a reboot, contact iRobot.
Wi-Fi drops and a map that will not hold
This model joins 2.4 GHz networks only. On a router that broadcasts 2.4 GHz and 5 GHz under one name, keep your phone on the 2.4 GHz band during setup. Check it at step one and again at step five. A few router settings block the connection too, such as a VPN or proxy, or isolation mode on a guest network. Robots sold in North America also ignore channels above 11. An extender needs the same network name and password as the main router.
When a connection that used to work drops, charge the robot first, because a fully drained robot will not connect. Then open Product Settings, choose Wi-Fi Settings and select Reconnect. If that fails, reboot the robot. Then unplug the router for 10 seconds, give it 2 minutes to restart, and restart your phone.
Mapping has stricter rules than it first appears to. Smart Maps need firmware 2.2.0 or later. The mapping run explores without cleaning. It only counts if it starts and ends on the Home Base, with no error and no help from you. Any rescue during that run means starting over, so clear the floor first.
The robot keeps one Smart Map. Mapping another floor means deleting the first map. Moving the dock or making major changes to the layout does the same. Meanwhile, another floor can still get a Clean Everywhere job, which does not need to start from the dock. Error 32, a mismatch between the map on the robot and the one in the app, calls for a reboot.
Brushes, wheels and the care schedule
Hair is the slow cause behind many of the errors above. Heavy build-up in the brushes can permanently damage the robot, according to iRobot. The i Series care chart sets the rhythm. Empty the bin after every run. Clean the rubber brushes and the filter once a week, or twice a week with pets.
The rest runs on a longer cycle. Clean the front caster wheel every two weeks, and the charging contacts, cliff sensors and edge sweeping brush once a month. Replace the filter every two months, the brushes every 6 to 12 months and the caster wheel every 12 months.
Lift out the rubber brushes and clear the hair wound around them. Then spin them to check they turn freely, because brushes that will not rotate may need replacing. The edge sweeping brush comes off with a coin or a small screwdriver, and its post needs clearing too. The front caster wheel also comes out for cleaning, and a caster clogged with hair can damage floors.
Two parts need a closer eye on some units. The spinning edge brush can break or wear out early, and the wheels collect hair between cleans. Because the warranty excludes filters and brushes, budget for genuine replacements as a running cost.
Warranty claims and what to have ready
Some faults sit beyond Roomba i4 EVO troubleshooting at home. An error that returns after cleaning and a reboot belongs with iRobot. So does a battery that will not charge on a clean dock. Before contacting support, charge the robot and have the serial number and proof of purchase to hand.
The limited warranty runs for one year from purchase or delivery, battery included. It covers robots bought from iRobot or an authorized seller. Under it, the company repairs or exchanges a failed product at its discretion. A repaired or replaced part carries the rest of the original warranty or 90 days, whichever is longer. Normal wear, consumables such as filters and brushes, unauthorized parts and weak home Wi-Fi fall outside it.
Expect troubleshooting to come first. Support tends to walk through reboots and cleaning before agreeing to a repair or replacement. Keep a note of the error codes and the steps already tried. Keep a factory reset for the very end, since it wipes the map and every setting.
Ownership of iRobot changed in January 2026, when Picea, its main contract manufacturer, took over the company. In its company update, iRobot says it plans no changes to app functionality. It also plans to continue support, software updates where applicable and warranty coverage for current products.
Troubleshooting only helps a robot that suits the home it runs in. Our Roomba i4 EVO review covers how it cleans when everything works and where it struggles by design. It also covers which homes suit it best, weighing these same faults against its strengths.
Conclusion
Most of the faults on this robot respond to the same short ladder. Care comes first: an emptied bin, clean sensors and contacts, and brushes free of hair. A reboot comes next, and it costs nothing, because it keeps the map and the schedules. After that, look at the setting around the robot. Check where the dock sits, which chairs and rugs trap it, and whether your Wi-Fi offers 2.4 GHz.
What the ladder cannot fix is a failing part. Errors that return on a clean robot are warranty questions. So are a battery that stops charging and motors that will not run, and the one-year cover includes the battery. Keep the serial number and receipt somewhere easy to find, and note error codes as they appear. Good Roomba i4 EVO troubleshooting is mostly that habit: the code, the fix you tried, and whether it held.
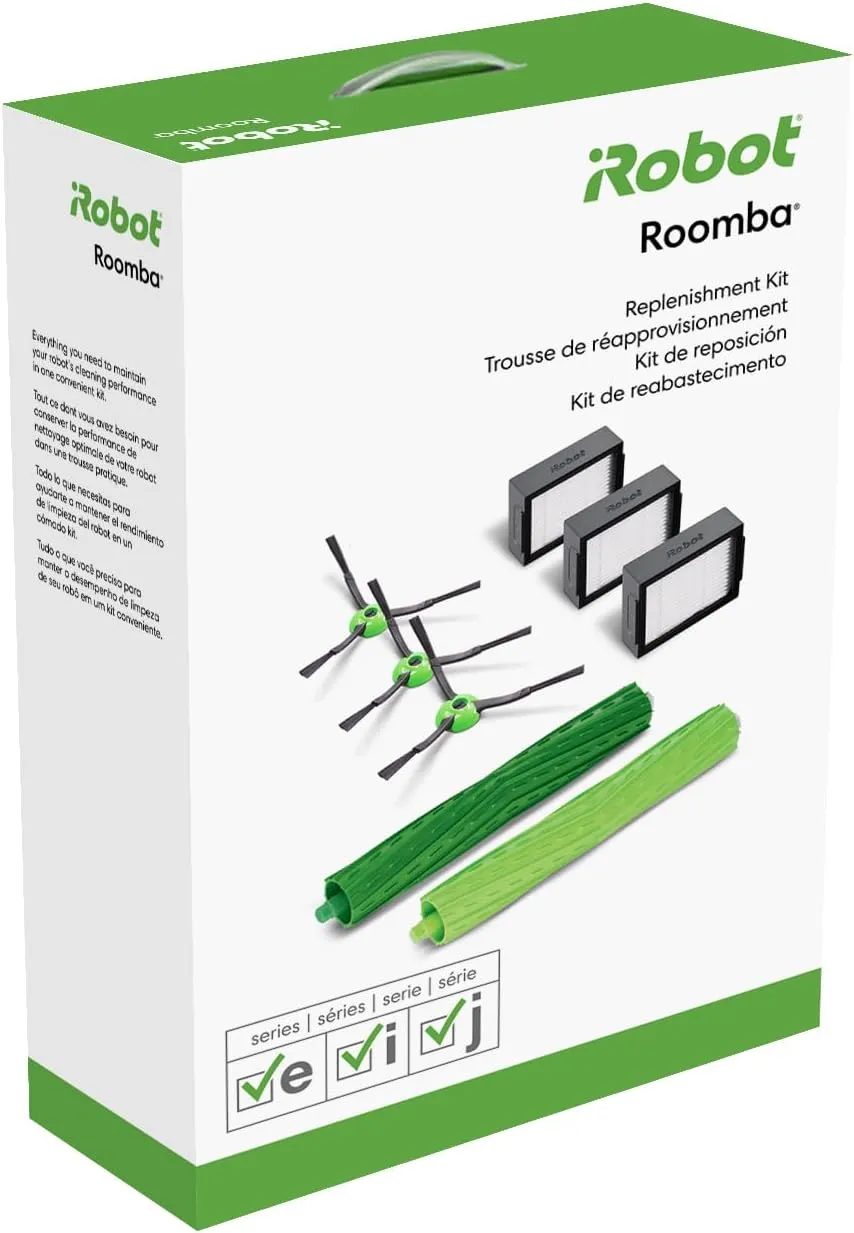
iRobot Roomba Replenishment Kit (e, i and j Series)
View on Amazon
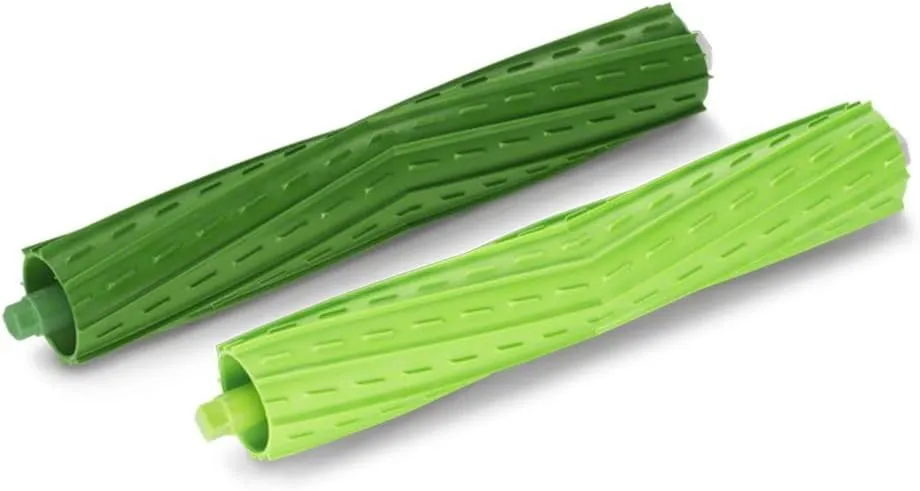
iRobot Dual Multi-Surface Rubber Brushes (e, i and j Series)
View on AmazonFrequently Asked Questions
How do I reboot a Roomba i4 EVO?
Take the robot off the Home Base, then press and hold CLEAN for about 20 seconds until a white light appears and a tune plays. The restart can take up to a minute and a half. You can also reboot from the iRobot Home app under Product Settings. A reboot keeps your Smart Map, schedules and preferences.
Why does my Roomba i4 EVO say the bin is full when it isn't?
Dirt on the full-bin sensors or in the vacuum path can trigger the alert. Rinse and dry the bin, wipe the sensors on the robot with a dry microfiber cloth, and clear the vacuum path with the brushes out. If alerts continue, reboot, or switch Bin Full Behavior to Keep cleaning when full under Product Settings and Cleaning Preferences.
Why won't my Roomba i4 EVO connect to Wi-Fi?
It connects to 2.4 GHz networks only, so a phone on a 5 GHz band during setup can stop it joining. A VPN, a guest network with isolation turned on, or a router channel above 11 in North America can also block it. For a connection that used to work, charge the robot and use Reconnect under Wi-Fi Settings in the app.
Can the Roomba i4 EVO map more than one floor?
No. It stores a single Smart Map, and mapping another floor means deleting the first one. It can still clean an unmapped floor with a Clean Everywhere job, which does not need to start from the dock. Room-by-room cleaning works only on the mapped floor.
Why has my Roomba i4 EVO stopped charging?
Start with the contacts on the robot and the Home Base, which the official fix for charging errors 4, 5, 19 and 21 asks you to clean. Errors 6 and 7 mean the battery is too warm or too cold. With errors 9, 11 and 20 the battery may be failing, while 17 and 23 mean it may not be genuine.
Is the battery covered by the Roomba i4 EVO warranty?
Yes, within limits. The limited warranty runs one year from purchase or delivery and includes the robot battery, provided the robot came from iRobot or an authorized seller. Normal wear and tear, including battery wear, is excluded, and aftermarket batteries can void the warranty.