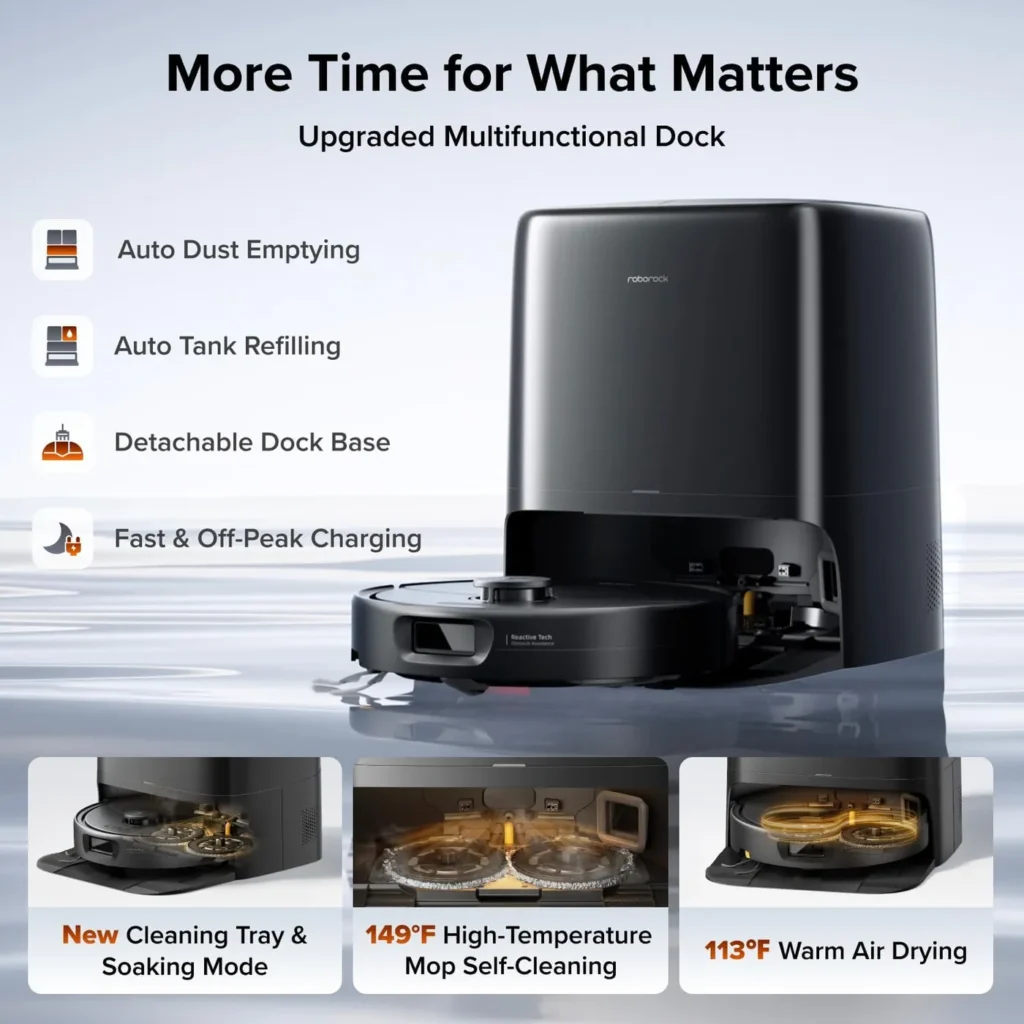
Roborock Qrevo 2 Pro troubleshooting follows a fixed order: simple causes first, then Roborock's own fix for each error. There is no user manual for this model on Roborock's support page yet. Its troubleshooting entries and FAQs, plus Roborock's product page, are therefore the official guidance this guide follows.
Each fix starts with the quickest check and builds on what Roborock itself states. Where Roborock publishes nothing, the guide says so instead of guessing. That includes runtime per charge and replacement intervals for parts.
Charging, emptying, mop washing and drying all happen at the dock, so the checks begin there. Then move to the section that matches the symptom or error code. If a fault keeps coming back on a new unit, the warranty section explains when to stop and contact Roborock.
Key Takeaways
- A lit dock light with the robot docked means poor contact: nudge the robot, then clean the contacts.
- Pads come off for carpet only after you enable Auto Mop Removal in the Roborock app.
- Roborock publishes no fix for pads that stay in the dock, so repeat failures go to support.
- The Reset button restores factory defaults, Wi-Fi and schedules included, so keep it for internal errors.
- Without a published manual, the only official upkeep figures cover the dust bag and cleaning tray.
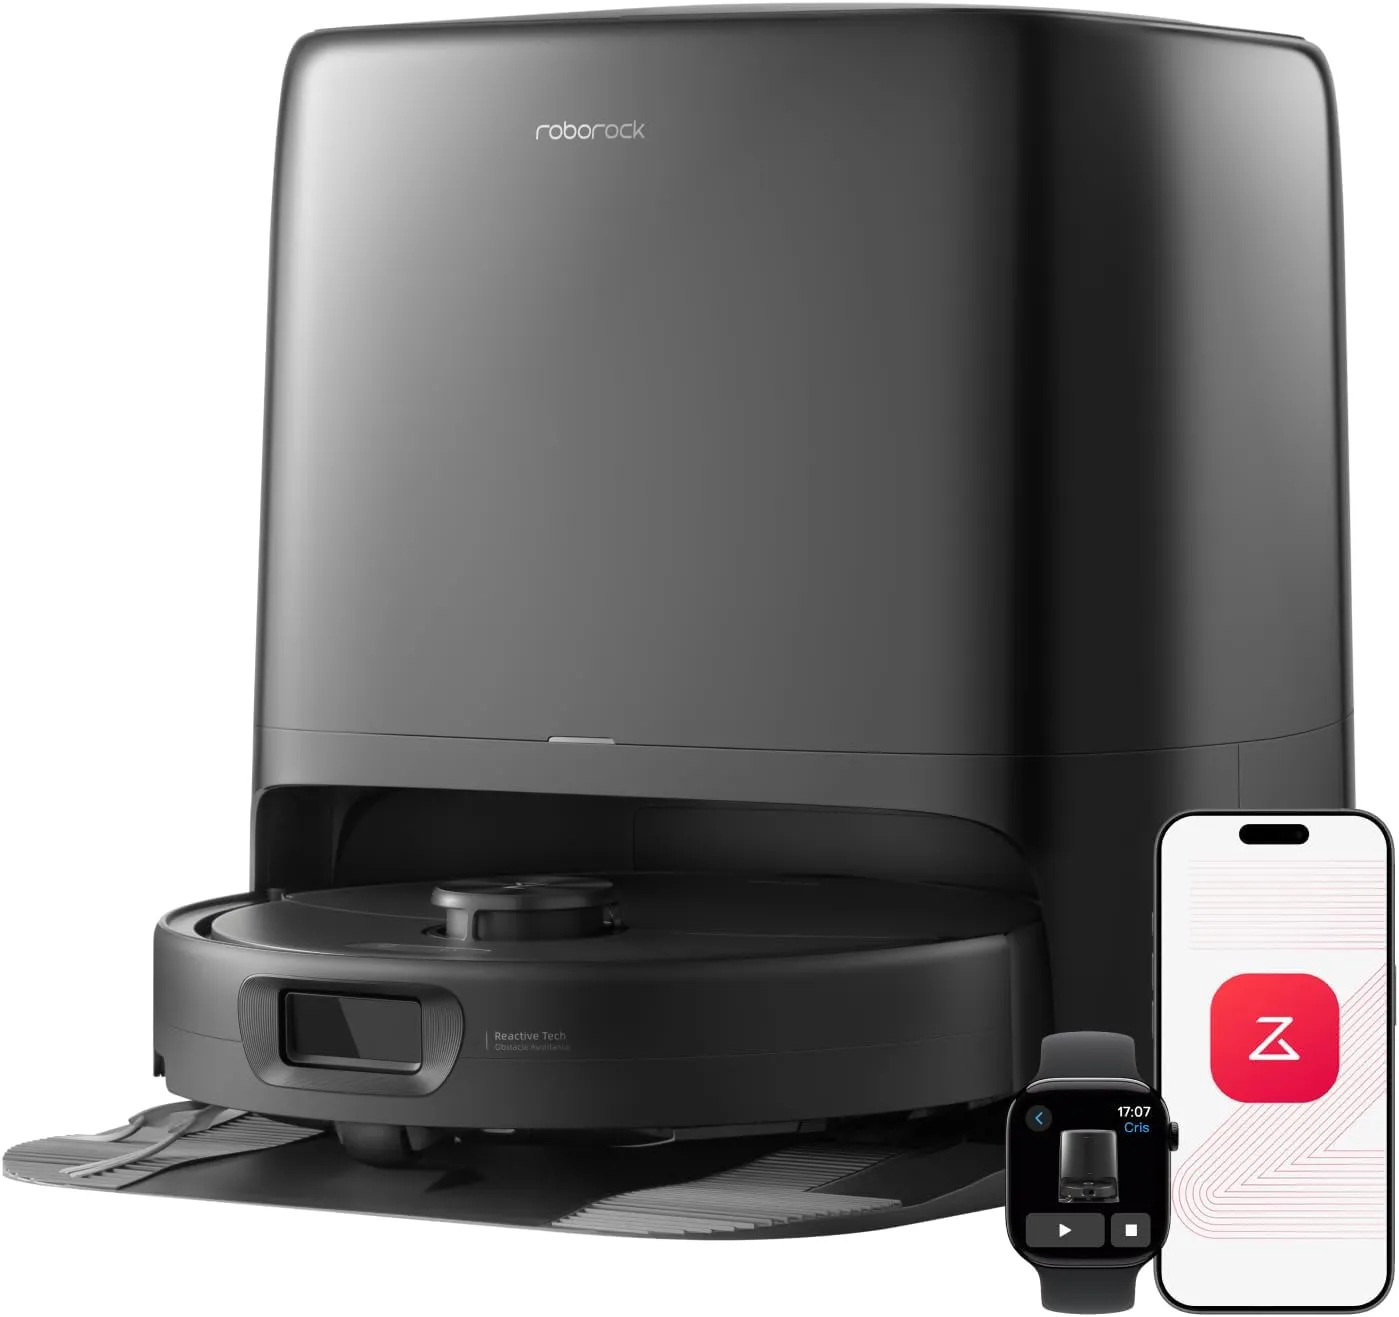
Roborock Qrevo 2 Pro troubleshooting: the dock comes first
Read the dock light before anything else. With the robot docked, an unlit indicator means the charging contacts meet and charging works. A lit one means the contacts are not connecting, which is the fault Roborock's error 13 entry describes.
First, nudge the robot on the dock until the light goes off. Next, check both sets of charging contacts for dust, stains or oxidation. Wipe them with a dry cloth or one lightly moistened with alcohol, or rub them gently with an eraser. Then push the power cable firmly into the dock and the wall outlet, and try another outlet if needed.
Placement comes next. Roborock wants the dock on a hard, flat floor and against a wall. Its support pages also ask for at least 1.6 feet (0.5 m) clear on each side and 4.9 feet (1.5 m) in front.
Roborock names three reasons a robot may struggle to return to its dock. The run started somewhere else, the robot hit an obstacle, or someone moved it by hand. Move the dock to a spot with that clearance, then clean the dock's front signal area and the robot's front sensor. The robot uses both to locate its dock.
Mop pads, carpets and Soaking Mode
If the pads stay fitted during a carpet run, check the app. Auto Mop Removal detaches the mop at the dock before carpet cleaning and reattaches it afterwards. Roborock notes that you have to enable it yourself.
If the pads stay in the dock after a carpet run instead, Roborock publishes no fix. The pads reattach at the dock, so its docking advice is the closest guidance. Start with the floor under the dock and the space around it. Then clean the dock's front signal area and the robot's front sensor.
Finally, dock the robot and confirm that the dock light goes out. If the pads still fail to reattach, contact Roborock Customer Support. On a new unit, repeated failures are a warranty matter.
For carpet itself, the app offers Carpet Boost+ for maximum suction and Deep Carpet Cleaning for a second, crisscross pass. Those two are the settings to try on long-pile rugs. With the pads still fitted, the mopping module lifts up to 0.591 inch, a figure from Roborock's own testing. Rugs with deeper pile call for Auto Mop Removal instead.
For pads that stay stained or smell, switch on Soaking Mode. The dock then soaks the mop for about 4 minutes before washing it. Rinse the one-piece cleaning tray as well, since it detaches for that job.
Maps, sensors and the rooms it misses
Error 1 concerns the laser unit the robot navigates by. Turn the robot on and watch that the unit spins. If it stays still, rotate it gently by hand, then restart the robot.
A map should appear horizontal or vertical in the app. If yours sits at an angle, Roborock points to dock placement. Move the dock to a spot with the clearance above. Failing that, switch Map Saving off and back on; the next clean then builds a new map.
Roborock traces most missed areas and odd cleaning paths to a dirty wall sensor, on the robot's right side. First, make sure nothing blocks the way into the missed area. Then wipe that sensor with a damp cloth and run another clean.
A zone clean can fail if the zone sits behind a door that stayed shut during mapping. Open the door and start a normal clean near it. Once the robot has found the open doorway, start the zone clean.
Error 4 involves the cliff sensors. Wipe them, and check that the robot is not on dark or shag carpet, which can trigger it.
Brushes, hair and the airflow errors
The DuoDivide main brush pairs two brushes that turn at a 10% speed difference. That difference pulls bundled hair apart in the central gap. Roborock's 0% hair tangling figure, though, comes from a lab test with 0.1 g of hair under controlled conditions.
Error 5 points at the main brush. Clear anything tangled around it, including inside its two mounting slots and at both ends. Then run the robot with Carpet mode enabled, which is Roborock's next step for this error.
The side brush turns backward on purpose as it enters a corner, then switches back as it leaves. A side brush spinning the other way in a corner is therefore normal, not a fault.
Airflow faults start at the filter. For error 9, check the side of the filter for its magnet, and replace the filter if there is none. For error 10, clean the filter, dry it thoroughly and refit it.
A "fan speed lowered" message calls for two checks: the strainer for a blockage, then a fresh filter. For error 18, Roborock says to clap the side of the robot several times to clear debris from the fan.
Wi-Fi setup and the Reset button
Check the network type first. The robot supports neither 5 GHz Wi-Fi nor WEP encryption. Join it to a 2.4 GHz network, and switch a router that uses WEP to WPA or WPA2.
If setup still fails, work down Roborock's list. Check the Wi-Fi password, and give the app location permission. On iOS 14 or later, allow Local Network access as well. When the app asks for a network, pick your home Wi-Fi rather than the robot's own.
Remove special characters such as !@#$ from the network name or password, as Roborock suggests. Turn off cellular data and any VPN on the phone, then reboot the robot and the router. If you know your router's settings well, Roborock also suggests setting its DNS to 8.8.8.8.
An internal error has its own fix: a system reset. Open the robot's top cover and press the Reset button, using the diagram in the app if needed. The reset restores factory defaults, including Wi-Fi and scheduled cleans, so keep it for that error.
Noise: what counts as normal
Roborock puts normal operation at around 65 dBA. That is similar to normal conversation, a washing machine or a dishwasher. Its FAQ gives 63 dB for Vac & Mop and as low as 54 dB for Mop Only.
Mop washing and drying run at about 56-57 dB. Emptying is the loud moment, rising to 70 dB for a few dozen seconds. By Roborock's yardstick, a robot as loud as a hair dryer or a busy street is abnormal.
To trace a new noise, test briefly after each step. First, run the robot without the main brush and its cover. If the noise stops, refit both with the cover's tabs in the housing slots. Next, remove the side brush and test, then do the same with the front wheel.
After that, turn the drive wheels by hand and listen. Clean the bin and filter, or drop to the lowest suction setting. Finally, run without the mop mount or in Vacuum Only mode. If the noise survives every step, contact Roborock support.
Repeat errors, the warranty and Roborock support
Most of Roborock's troubleshooting entries end with the same advice. If the problem continues, contact Roborock Customer Support. An error that returns after the listed fix is where Roborock Qrevo 2 Pro troubleshooting hands over to Roborock.
The Qrevo 2 Pro carries a 1-year limited warranty from Roborock. Repeated errors on a new unit belong with support inside that year, not with more home fixes. Until support replies, stick to the steps Roborock lists.
Roborock's US support answers email at support-us@roborock.com and promises a reply within 1 business day. The helpline, 1-855-960-4321, runs 24/7 and serves the US only. Roborock's Qrevo 2 Pro support page also has a request form that asks for your location and product model.
Before you get in touch, note the error number, when it appears and the steps already tried. Not every difference is a fault, though. Roborock says the laser unit's finish, matte or glossy, varies by production batch and does not affect how it works.
Upkeep and spare parts without a manual
Roborock publishes no replacement intervals for this model. Its support page has no manual yet, and no schedule appears for the brushes, filter or mop pads. Replace a part when it wears out, or when an error such as error 9 calls for a new filter.
Roborock does give two dock figures, both from its own testing. The dust bag can go up to 65 days without manual emptying. Roborock adds that this varies with the home, its cleanliness and cleaning habits. The cleaning tray's maintenance interval can reach up to 170 days under controlled conditions.
Four Roborock parts list the Qrevo 2 Pro as compatible. They are the side brush two-pack, rotating mop pads four-pack, washable filter two-pack and 1 L floor cleaning solution. For dust bags or a main brush, check with Roborock that a part fits this model.
Roborock's support pages warn that cleaning products in the water may block the filter. Its own floor cleaning solution, though, lists the Qrevo 2 Pro as compatible. Use that solution and nothing else, at the ratio printed on its bottle. For ratios and bottle sizes, see the Roborock cleaning solution guide.
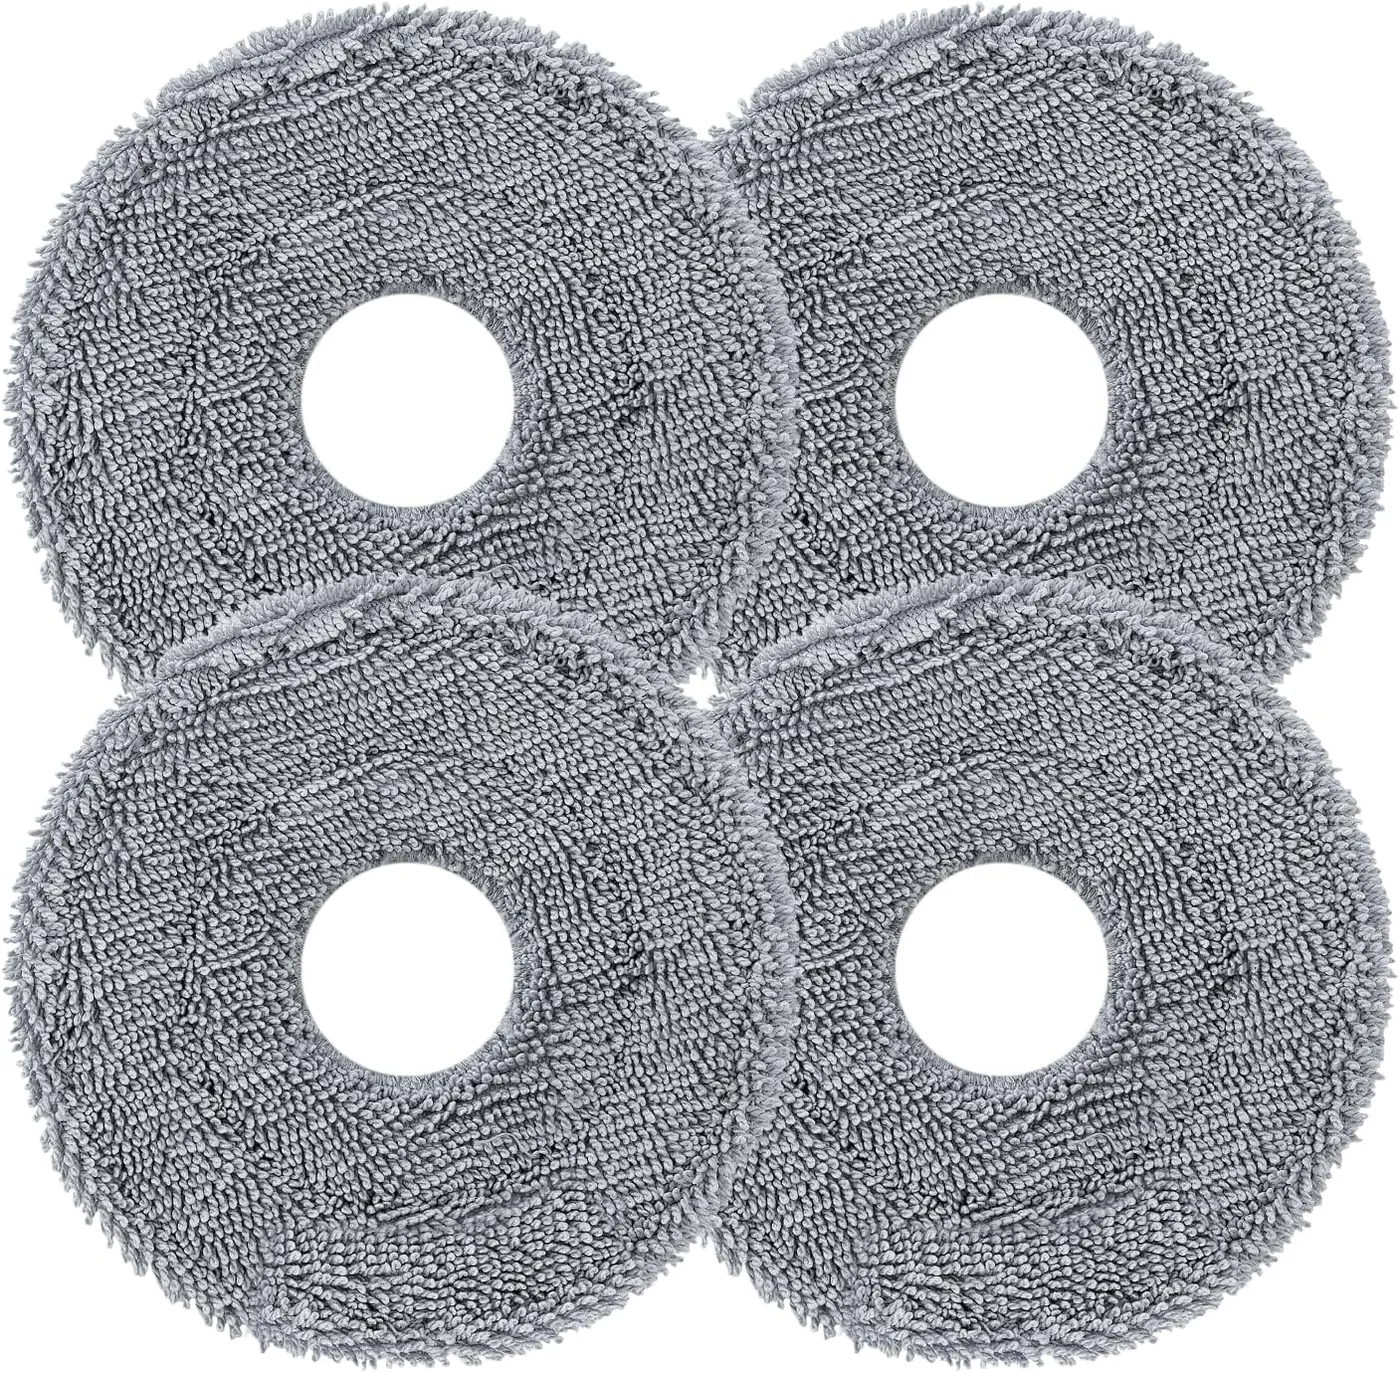
Roborock Rotating Mop Pads (4-Pack)
View on Amazon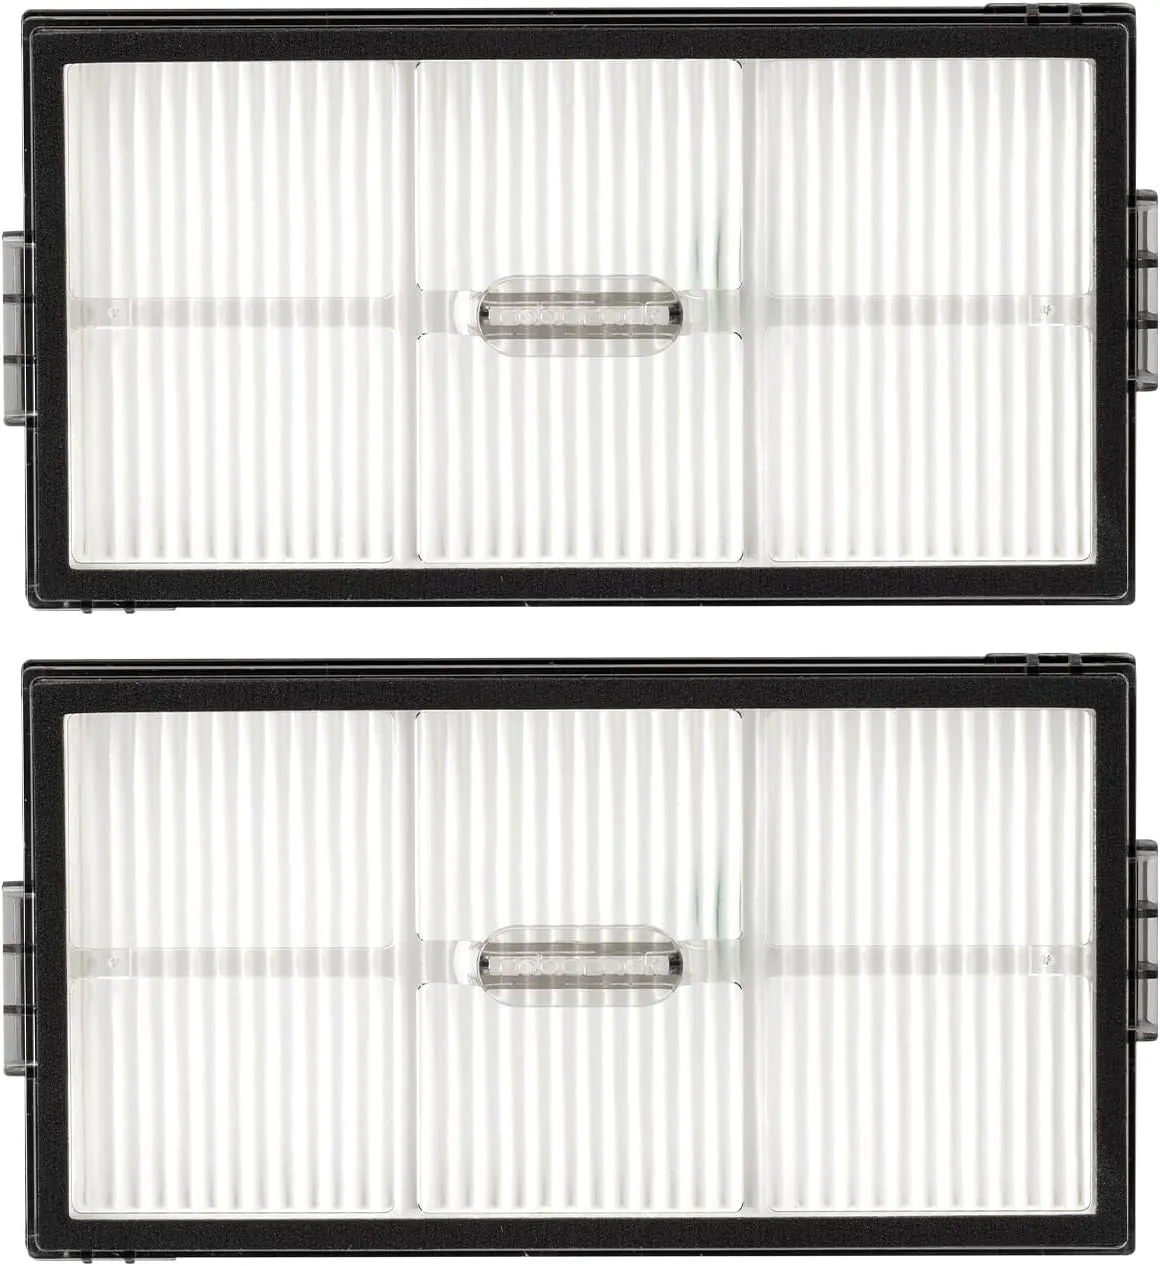
Roborock Washable Filter (2-Pack)
View on Amazon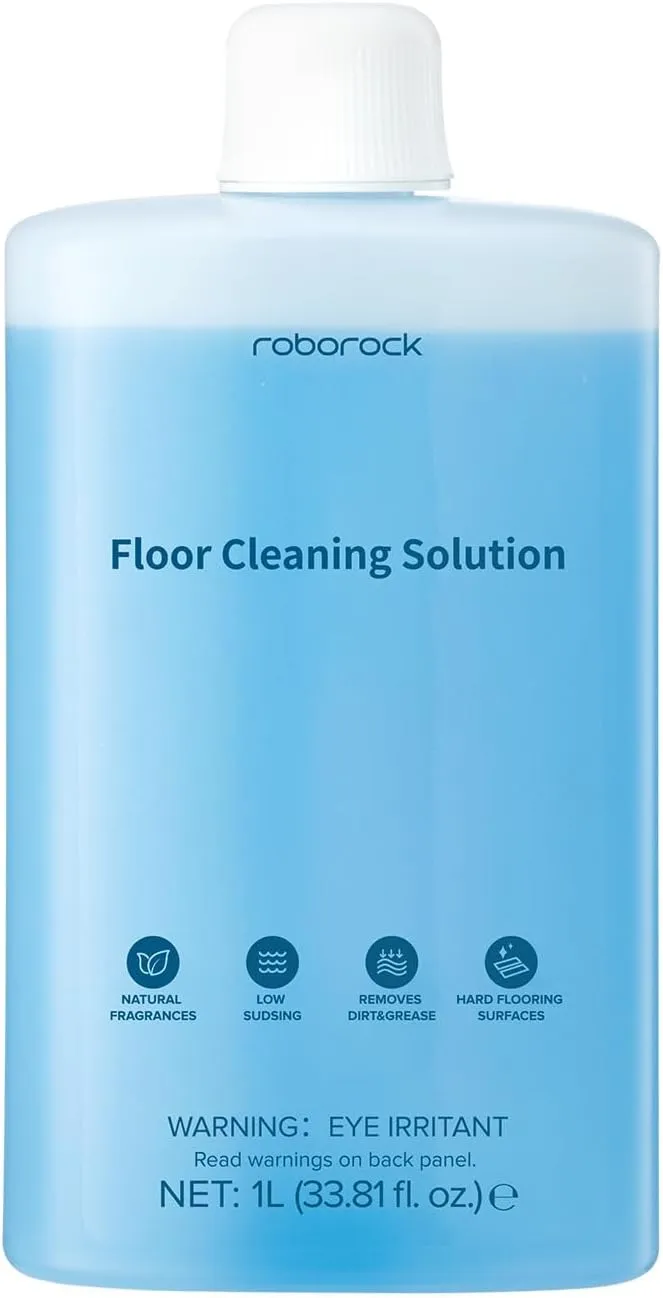
Roborock Floor Cleaning Solution (1 L)
View on Amazon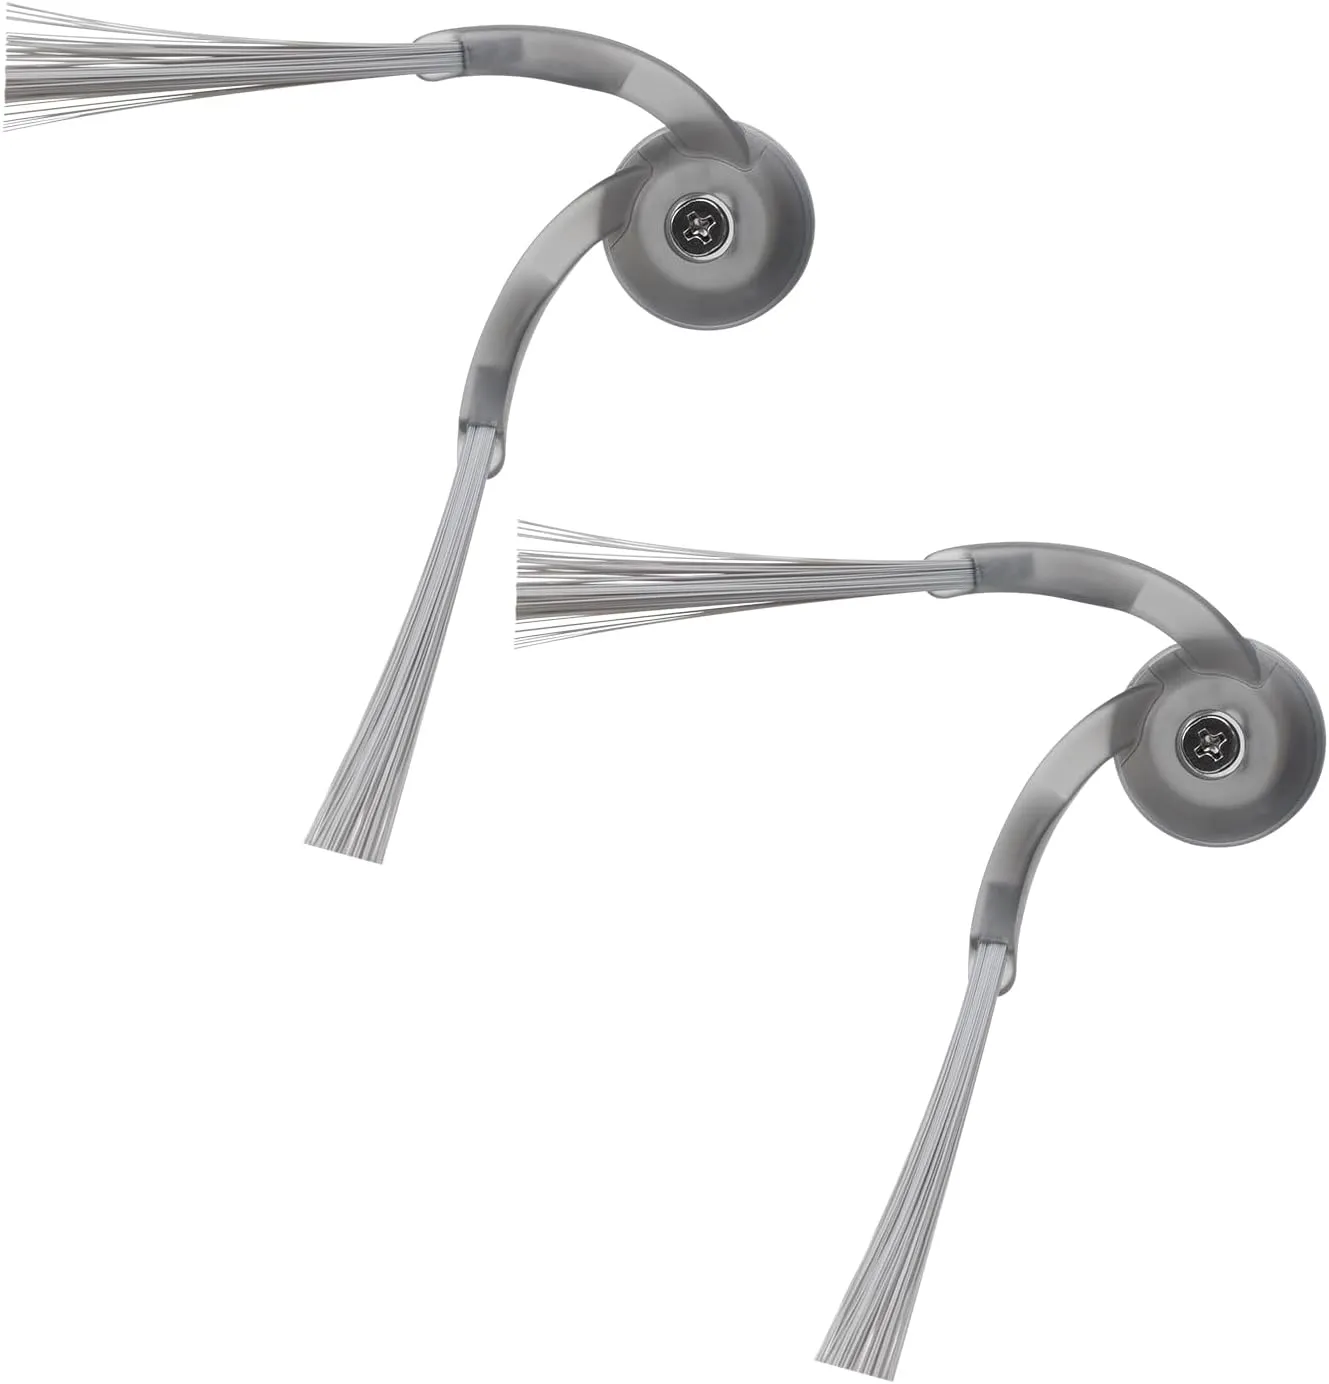
Roborock Side Brush (2-Pack)
View on AmazonConclusion
Whatever the fault, Roborock Qrevo 2 Pro troubleshooting runs in the same order. Read the dock light and check the placement, then clean the sensors, the brushes and the filter. Settings come after that, from Auto Mop Removal to Carpet Boost+, Deep Carpet Cleaning and Soaking Mode.
One step deserves restraint. A factory reset clears Wi-Fi and schedules, so it belongs with the internal error, where Roborock prescribes it. A new noise needs patience instead, one part at a time in Roborock's order.
Some answers Roborock has simply not published. Its pages give no runtime per charge, no replacement schedule and no fix for mop pads that stay in the dock. When a fault outlasts Roborock's listed fix, contact Roborock support while the 1-year limited warranty runs. Keep a note of the error and the steps tried, so support can pick up from there.
Frequently Asked Questions
How long does the Qrevo 2 Pro run on one charge?
Roborock does not publish a runtime per charge for this model. That leaves no official figure to judge a short run against. It does list a 5,200 mAh battery and says a recharge from 15% to full takes less than 4 hours. If charging stalls on the dock, check the dock light and the contacts first.
Does the Qrevo 2 Pro sense when its onboard bin is full?
Roborock's pages describe no sensor that detects a full onboard bin, and they say nothing about emptying mid-run. In a home with heavy shedding, check the bin and clean the filter between runs. That is also where Roborock's airflow fixes begin, from error 10 to the fan speed warning.
What do errors 7 and 8 mean on the Qrevo 2 Pro?
Roborock's fixes for both concern parts that are stuck. For error 7, press and spin the wheels by hand, and work them free if they stick. For error 8, clear any obstacles around the robot, then press and spin the parts by hand to check for sticking. If either error returns, contact Roborock Customer Support.
Can the Qrevo 2 Pro clean a floor away from its dock?
Roborock's pages do not describe cleaning a floor without the dock. They do say the dock handles charging, emptying, mop washing and drying. A robot moved by hand, or started away from its dock, may struggle to find it again. Roborock publishes no tank volume or rewash interval either. On a raised level, such as a duplex, it says to use a physical barrier against falls.
Is there a user manual for the Qrevo 2 Pro?
Roborock's support page for this model lists no user manual yet, although a printed manual is listed among the box contents. If the manual in your box gives part intervals, follow those. Online, the Troubleshooting and FAQs tabs on that page hold the official Roborock Qrevo 2 Pro troubleshooting steps. The app also shows a diagram for finding the Reset button.
How much space does the Qrevo 2 Pro dock need?
Roborock asks for a space at least 2.70 feet (0.82 m) high, 1.38 feet (0.42 m) wide and 3.94 feet (1.2 m) deep. Put the dock flat against a wall, on a hard, flat floor such as wood, tile or concrete. For docking and a straight map, its troubleshooting pages add clearance at the sides and front.